I’m co-habitating with a geek. He tries to hide it from time to time, but he is a little boy at heart.

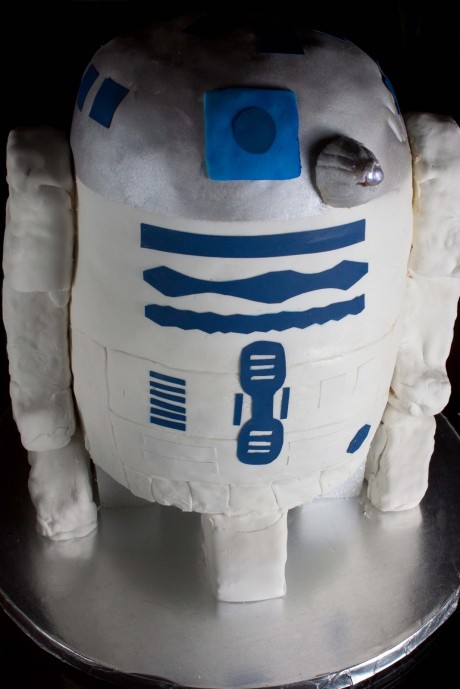
Week-long, themed birthday celebrations are the norm in our house and this year was no different. Not sure why it took me so many years to actually do ‘Geek Week’ for my love, but it was a smashing success. From Zombie Insurance to Light Saber Popsicles, each day brought a new present and more fun and they all led up to the grand finale: a homemade R2D2 Replica Birthday Cake.
Creating this Star Wars cake takes time and some patience but it’s completely worth it. Bake the cakes ahead of time and freeze them so you can focus on the most important part – decorating.This isn’t the time to test out new cake recipes; save yourself a lot of hassle and go with tried and true.
The cake is comprised of six layers: 1 chocolate stout bunt cake, 3 layers of buttermilk white cake,1 layer of Rice Krispies and 1 layer of Chex Mix Krispies along with two extra pans of rice krispies for the arms and legs, four batches of buttercream frosting and four recipes of homemade fondant. The fondant keeps everything so moist and delicious- this cake lasts days of noshing.It’s a big, giant, heavy, delectable cake.
Wow your birthday guy/girl with this R2D2 cake, then deliberate for hours whether you should actually cut into the cake, eventually enjoy a piece out of the back side, then let him take it to work and blow everyone away. The kudos will have you flying high for a week.

Young or old, pocket protector or not, all fans of Star Wars deserve a Fat and Happy R2D2 Cake at some point. The only real questions is how to out-do this next year?
Fat and Happy Food Blog Tips and Techniques: Below I’ve posted many of my ‘lessons learned’ while putting this together. But do comment below if you have questions.
This section will note the layers used to create this cake along with the links to the recipes used. The section below lists all of my lessons learned while decorating the cake. Look to those tips to help simplify your process.
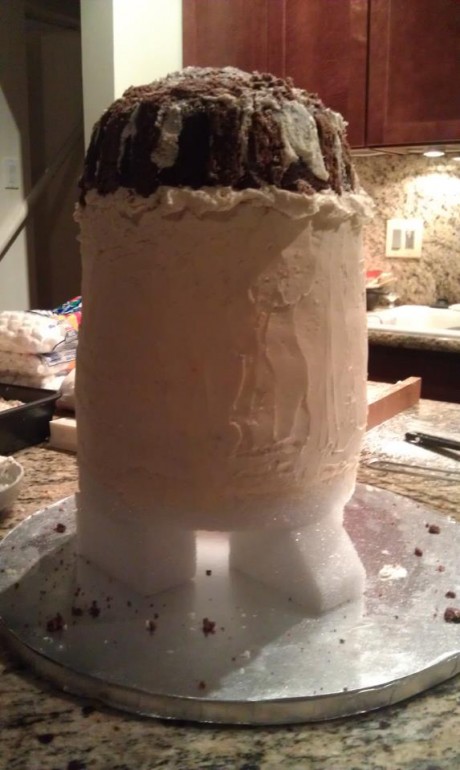
Step 1: Make one (1) bundt cake for the dome head
I used this Chocolate Stout Cake
Step 2: Make three (3)-9inch round cake layers
I used this Buttermilk White Cake
Wrap these well and freeze them until you are ready to use.
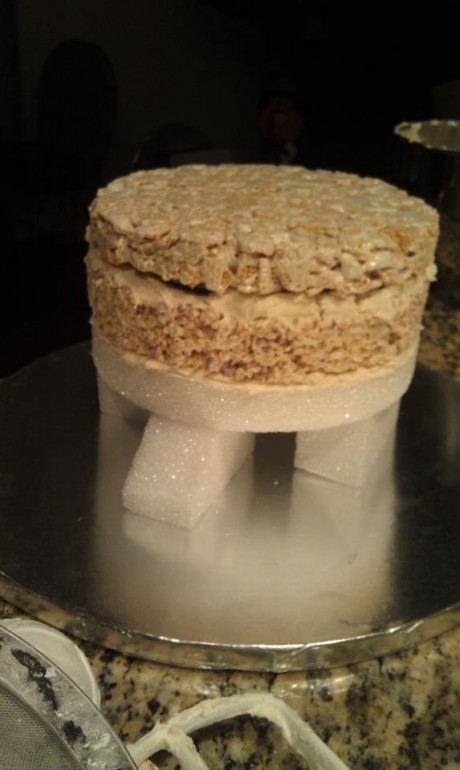
Step 3: Make the krispie layers the morning of or night before you start to decorate: make two 9″ round cake pans
I made one layer of with rice krispies and one layer with chex mix

Make two more cake pans of krispies for the arms and front wheels
Step 4: Make two (2) batches of the buttercream to start, you can make more as needed
I used this Buttercream Frosting recipe
Step 5: Make two (2) batches of the homemade fondant to start, you can make more as needed
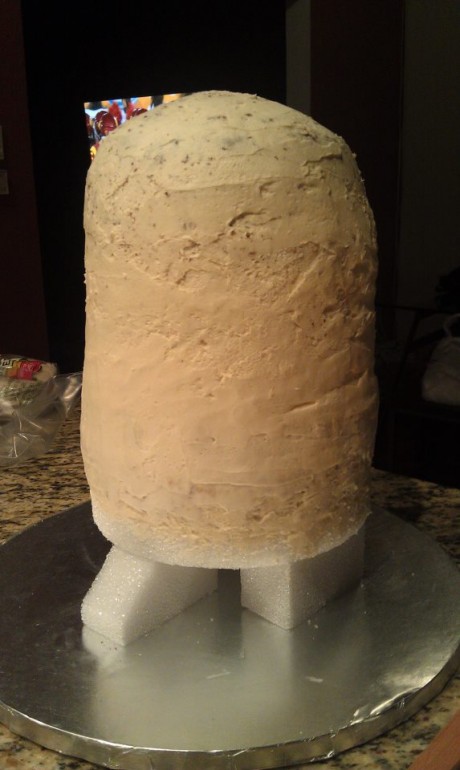
Step 6: Assemble the cake: place each layer on a cake board and cover top with buttercream frosting. Once the cake is assembled, cover all the sides with the buttercream frosting (this is a crumb layer – it traps in all the crumbs and it will give the fondant something to stick to.)
Step 7: Roll out the fondant and apply to the cake. Invest in a fondant smoother to help keep this layer smooth.
Step 8: Cut out the arms and front leg, cover in fondant. Use skewers to attach to the body
Step 9: Decorate to bring R2 to life!
Tips and Tricks
- Make the cakes ahead of time (freeze them) and then set aside a day to decorate.
- This is not the time to to try out new cake recipes. Go with cakes that are relatively solid, not soft, light or squishy; for instance- a chocolate sour cream sheet pan cake would not hold up well.
 Hide little styrofoam legs inside of his exterior legs to lift the cake off the ground; this will allow you to have the front wheel in the correct place as well.
- Do purchase cake boards to place between every level.
- Don’t let the crumb layer dry before adding the fondant.
- Pre-making the fondant will save time, but it’s easier to work with when it’s fresh (assuming you are making your own). Store bought is probably easier than anything, but it will be more expensive.
- My first attempt with the fondant was to roll one gigantic size and drape it over the entire cake, but that proved to be extremely difficult. Chunking it into smaller sizes actually helps to give interesting seam definition to R2D2 that you would otherwise need to pipe on separately.
- Use the layers of rice krispies for the base structure and for the arms. لعبه بلاك جاك My cake fell over in the back of the trunk and and rolled around for a fewmiles but did never fell apart…except the arms fell off but I was able to just stick them back in. Plus, all the buttercream frosting will keep those krispies moist and the become the absolute best part about the cake (once you eventually eat your way down to that level.)
- If you won’t be able to hide the building of the cake, offer to let your Star Wars Birthday Boy/Girl help. Trust me, they know exactly how R2 should look and will likely jump at the chance. casino888
- Purchase Blue Sugar Sheets for the cutouts- it’s much easier then piping.
- Use Silver Sugar Spray for the dome head.
- Must do: get a little light (available in the decorating sections of the craft store) for R2’s eye. العاب سباق الخيل It an extra special effect that will take the wholecake to the next level.
- This cake gets heavy, try to plan for building it in its final resting place.
- Have patience and have fun with it!
Find more great recipes on Monique’s Blog at http://fatandhappyblog.blogspot.com/