As my husband can attest, one of the phrases I can’t stop saying lately is “Get a freakin’ hobby!” I’m prone to sarcastically muttering it when I think people are creating drama just for the sake of drama, or butting into my business. As is: are you serious? Do you really have nothing better to do? Get a freakin’ hobby!
So, in the spirit of practicing what I preach, I’ve decided to take my own advice and try something new to occupy my free time. I happened to stumble upon Sublime Stitching, a website, blog, and pattern designer dedicated to quirky embroidery. I immediately fell in love with their often cute, sometimes disgusting patterns and decided this was something I had to try. All I needed to get started was a hoop, some embroidery floss, a needle and the material l wanted to embroider. I was anxious to get started, and couldn’t wait for the ultimate embroidery kit to arrive, so I ran to my local Michael’s and picked up a hoop, an assortment of floss colors, and some fabric scraps they were selling for $0.60. I perused their pattern transfers and decided the teddy bears and roses they had to offer were far too lame for me. I instead picked up a transfer pencil and decided I would find a much more bad ass pattern online that I would trace with the pencil and iron onto my fabric scraps. This embroidery was going to be epic.
As I searched around the web for a pattern I liked, I noticed that a lot of the embroidery bloggers talked about sketching out their own designs and embroidering their drawings onto fabric. I decided this is what I would do, only I wouldn’t sketch a picture. Instead, I would write out yet another one of my favorite phrases, “That’s what she said.” Yes, my first attempt at embroidery was a quote from my favorite television character, Michael Scott. Once successfully completed, I fashioned it into a magnet which now hangs on my fridge.
So, to get YOU started, I’ll share a few of the stitches I learned during my little foray into embroidering. Early Bird Special was a great resource for me as I tried to master the various stitches that you can use.
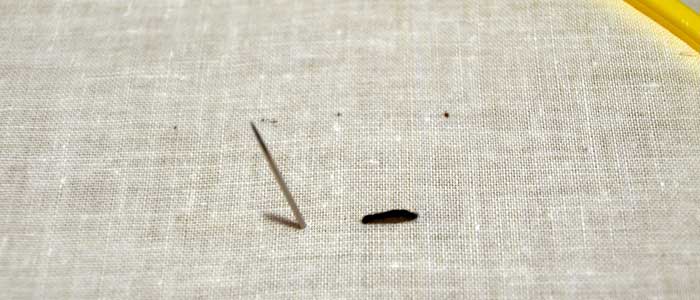
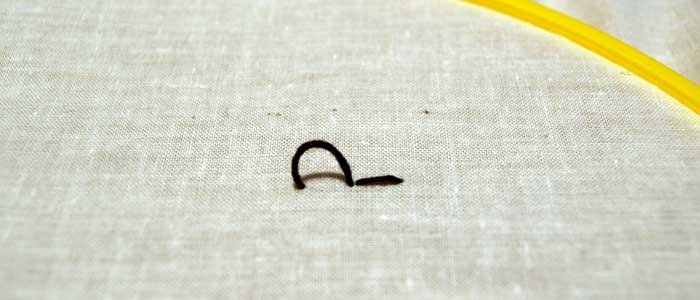
One of the most basic stitches is the back stitch. You start out by inserting your needle from the back of the hoop, pulling the floss through, and then reinserting the needle down through the front to create a stitch. From there, you reinsert your needle from the back of the hoop again, about a stitch length away from where you just inserted the needle in the front. Your stitch length all depends on how you want your piece to look. Longer stitch lengths will look chunkier, smaller ones more fine.

Once you’ve pulled your floss all the way through to the top again, you’re going to reinsert it close to the last stitch (the spot you last pulled the needle from the front to the back).

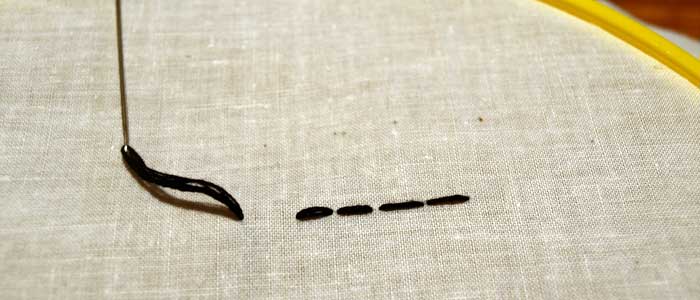
The stem stitch is really similar to the back stitch. The only difference is where you situate your needle when you’re pulling it through from the front to the back. Like the back stitch, you’ll start by pulling your needle through from the back, and creating a stitch. And again, like the back stitch, you’ll reinsert the needle from the back a stitch length away. This time though, when you push the needle in from the front to the back, you’re going to insert the needle next to the last stitch instead of in front of it.

My stem stitches still come out a little messy, but you can see how a back stitch and a stem stitch differ in looks.
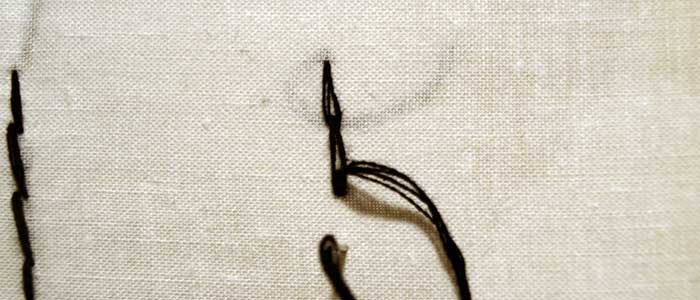
The third (and sadly, last) stitch I’ve mastered is the split stitch. This is actually the stitch I used for the lettering on my magnet, for no real reason other than I got really cocky and thought I would be a whiz at this this. This stitch is a little less forgiving than the other two, but isn’t all that much harder. You start off by, you guessed it, pulling the needle in from the back and creating a stitch. When you come through from the back for the second time though, you are going to go straight through the middle of the stitch you just created. I literally count out the number of threads in the floss to make sure I have it perfectly centered in my stitch. Then, you’re going to reinsert from the front about a stitch length away and repeat.

If you’re looking for more inspiration, check out Feeling Stitchy, which also features work by manbroiderers (yes, that’s exactly what it sounds like) or MrXStitch which features NSFW needlework and is where I found a sweet Bansky embroidery. Happy stitching!
Got a freakin’ hobby that you’ve been meaning to try? Let Gozamos’ resident hobby guinea pig give it a test run for you! Email Melissa at melissa@gozamos.com or leave your suggestions on Gozamos’ Facebook wall.
I love Embroidery..thanks for showing its just not for our grannies 😉